In Q2 2024, a $60 shortcut turned into a $1,200 problem
At 6:40 a.m. on a Tuesday in Q2 2024, I was standing near our fabrication bay when a 4.5-inch grinding wheel came apart. Nobody got hurt, but the wheel shattered inside a guard that wasn’t seated right, and the whole shop stopped. I’m the procurement manager at a 60-person metal fabrication company. I’ve managed our tooling and abrasives budget—about $180,000 annually—for six years. I’ve negotiated with 40+ vendors and tracked every invoice in our cost system. And that morning, I learned that saving $60 on an angle grinder wrench and a cheap pack of wheels was one of the most expensive decisions I’d made.
My experience is based on about 200 mid-range orders for a domestic metal fab shop. If you’re running heavy castings, offshore sourcing, or a much larger operation, your numbers will differ.
What actually happened
We’d been under pressure to cut consumables costs. Abrasives are one of those line items that look easy to squeeze: wheels, flap discs, cut-off discs, diamond pads. I did what a lot of cost controllers do—I compared unit price. Vendor A quoted $3.10 per cut-off wheel. Vendor B quoted $2.55. I went with B for a trial order and saved about $220 on the first batch. Plus, I bought a plastic VersaStack wheeled tool box to organize the grinder station. That part was fine. The problem was what came with it—or didn’t.
The cheap wheels didn’t include a mounting wrench that matched our grinders. Our old angle grinder wrench had walked off months earlier. Instead of buying a proper replacement, I told the team to use an adjustable wrench. Looking back, I should have paid $12–20 for the right wrench and moved on. At the time, it felt like a small thing. It wasn’t.
On the morning of the failure, an operator was changing a wheel. The adjustable wrench slipped. He thought the wheel was tight. It wasn’t. The wheel got cross-threaded, then seated at an angle. When he pulled the trigger, the unguarded side of the wheel caught the workpiece, and the wheel blew apart. We lost four hours of production. The spindle was damaged. A customer order slipped two days. Between downtime, rush shipping, and a replacement grinder, the ‘cheap’ shortcut cost us $1,200. That’s a 5x hit compared with the $220 we thought we’d saved.
The audit that changed our abrasives buying
After that, I stopped comparing unit price and started comparing TCO—total cost of ownership. I built a spreadsheet with eight vendors over three months. I tracked wheel life, changeover time, reorder frequency, freight, small-order fees, and safety support. The results were embarrassing. The low-price wheels lasted 30–40% less than the mid-range options. Operators spent way more time changing wheels. And the vendor with the lowest unit price had a $35 small-order fee, $18 freight on orders under $500, and no mounting or guarding guidance.
Vendor A—the one that looked 15% more expensive upfront—included a proper angle grinder wrench with the starter kit, a guard compatibility sheet, and 30 minutes of on-site safety training. That training wasn’t free, but it was transparent. It was built into the quote. No surprise fees. That mattered more than I expected.
I’ve learned to ask ‘what’s NOT included’ before ‘what’s the price.’ The vendor who lists all fees upfront—even if the total looks higher—usually costs less in the end.
Where Norton Abrasives (Saint-Gobain) fit in
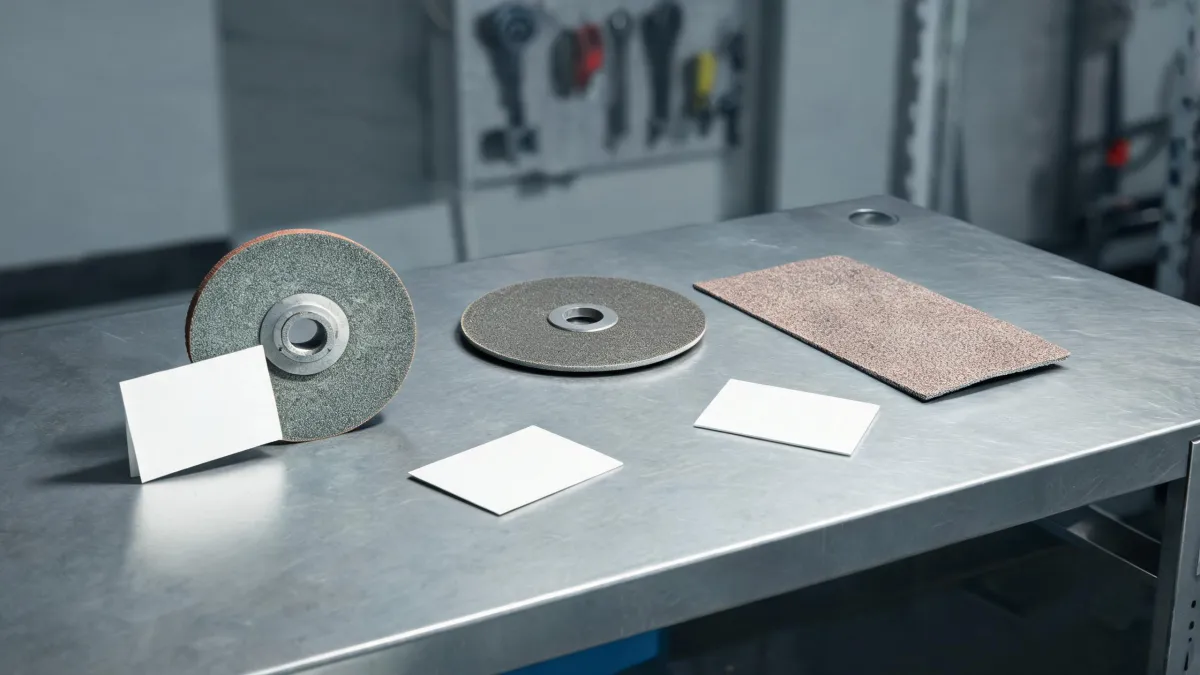
During the audit, I started by searching norton-abrasives reviews and Saint-Gobain product data. I tested Norton Abrasives products for the first time. We already knew the brand, but I’d never run a full TCO comparison. Norton Abrasives is part of Saint-Gobain, and their catalog is broad—bonded wheels, coated abrasives, diamond blades and pads. The product that changed our finishing cell was Norton Abrasives F240. If you’ve seen Chinese distributor pages, you might see it labeled norton abrasives (saint - gobain)金刚石软磨片介绍—in English, these are diamond flexible pads. F240 is a fine grit for finishing hard surfaces like stainless steel, stone, and tile. It’s not a grinding wheel for heavy stock removal. It’s for the last step before polish.
We tested Norton Abrasives F240 diamond flexible pads on stainless weld cleanup. The F240 pad cut our polishing steps from three to two. Cycle time dropped about 18% on that operation. The pads cost more per piece—roughly $18–35 each depending on size and backing as of January 2025, based on distributor quotes I collected; verify current pricing. But they lasted long enough that our cost per finished part dropped. That’s the whole point of TCO. A higher unit price isn’t automatically a bad deal.
I won’t claim Norton Abrasives is the right fit for every shop. We only tested a narrow slice: 4.5-inch and 5-inch angle grinders, stainless and mild steel, mid-range production. If you’re running a high-volume foundry or exotic alloys, test it yourself.
How to safely use an angle grinder when you’re trying to save money
The accident didn’t happen because one brand was bad. It happened because we treated safety accessories as optional. According to OSHA 29 CFR 1910.243(c), portable grinding tools must be guarded to protect the operator from wheel fragments. ANSI B7.1, the safety standard for abrasive wheels, also calls for proper flanges and mounting. That’s not paperwork. That’s the difference between a close call and a hospital visit.
Here’s the checklist I now enforce at our shop:
- Use the correct angle grinder wrench. Not an adjustable wrench. A proper wrench seats the wheel without slipping.
- Keep the guard on. If a wheel won’t fit with the guard, you’re using the wrong wheel or the wrong tool.
- Check the wheel’s max RPM against the grinder’s RPM. Never run a wheel above its rating.
- Inspect the wheel for cracks, chips, or moisture damage before mounting.
- Mount with the correct flanges. Don’t mix flange sizes.
- Let the wheel spin for 30 seconds before applying load.
- Wear safety glasses, face shield, hearing protection, and gloves rated for the task.
- Store angle grinder wrenches, guards, and spare wheels together—our plastic VersaStack wheeled tool box ended that hunt.
That last point sounds like housekeeping, but it’s cost control. Missing tools cause shortcuts. Shortcuts cause downtime. Downtime costs more than the tool.
Results: lower TCO, fewer close calls
We switched primary abrasives to a transparent vendor—one that quoted freight, small-order fees, and training upfront. We kept Norton Abrasives F240 diamond flexible pads in the finishing cell. We bought proper angle grinder wrenches for every grinder station and put them in the VersaStack wheeled tool box plastic unit. We also added a pre-shift grinder check.
Twelve months later, our abrasives spend was down 12% on a $70,000 category—about $8,400 saved. That wasn’t from buying the cheapest wheels. It was from buying fewer wheels, changing them less often, and avoiding one major incident. We also had zero wheel-related injuries or near misses. I can’t prove the savings would hold in every shop, but the direction was clear.
What I’d do differently
If I could redo that decision, I’d buy the right angle grinder wrench on day one. I’d ask every abrasive vendor for a complete landed-cost quote, including freight, fees, and safety support. And I’d run a small TCO trial before rolling anything out to the floor.
Bottom line: cheap unit price is a story. TCO is the bill. In abrasives, the hidden costs show up as wheel changes, downtime, and close calls. The vendor who tells you what’s included—and what isn’t—is usually the one who saves you money. That’s the kind of transparency that builds trust.

Helena Duarte
Helena Duarte is an independent pipe, valve, and pump applications analyst covering fittings, ball valves, gate valves, check valves, butterfly valves, flanges, hose clamps, centrifugal pumps, sump pumps, and submersible pumps. She uses ISO 5208 pressure-testing concepts and ISO 9906 pump acceptance methods while comparing pressure class, seat leakage, Cv, head, flow, efficiency, solids passage, seal materials, and installation orientation. Her guides help specifiers and maintenance teams match fluid-handling components to service conditions and acceptance criteria.